
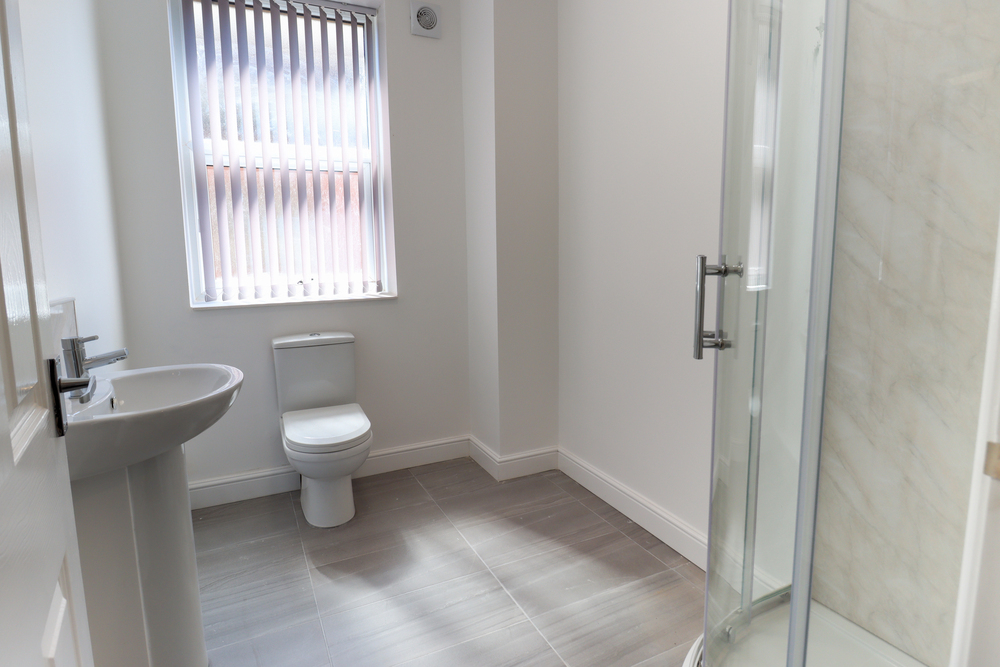
There’s a reason vinyl keeps winning out when it’s time to choose a bathroom floor. It isn’t affected by water. It’s warmer underfoot than tile. And if you’re a reasonably confident DIYer, you can get it down in a weekend without any specialist tools. The real question was never whether vinyl works in a bathroom, it does. It’s getting the details right: picking the correct type, prepping the subfloor properly, and sealing the edges so water can’t creep in underneath.
So, how do you lay vinyl flooring in a bathroom? In short: pick a fully waterproof product, get the subfloor flat and dry, cut carefully around the toilet and pipework, and seal every edge with silicone rather than relying on the vinyl alone.
Here at Funky Flooring, we’ve put together the full details covering sheet vinyl and click LVT, what to buy, and how to avoid the mistakes that let water get where it shouldn’t.
Contents:
- Is Vinyl Flooring Actually a Good Choice for a Bathroom?
- Which Type of Vinyl Should You Use in a Bathroom?
- What You’ll Need
- Preparing the Subfloor and the Room
- How to Lay Sheet Vinyl in a Bathroom
- Mistakes Worth Avoiding
- Final Thoughts
Is Vinyl Flooring Actually a Good Choice for a Bathroom?
Yes, and it’s one of the few floor coverings that’s genuinely designed with wet rooms in mind. Modern sheet vinyl and rigid LVT (luxury vinyl tile) are built with a fully waterproof core, so a puddle left on the surface after bath time isn’t going to swell or warp the floor the way it would with laminate or solid wood. That’s worth knowing if you’re also weighing up waterproof laminate flooring for a family bathroom, since the two materials handle standing water rather differently underneath the surface.
It’s worth getting the terminology right, though, because waterproof and water-resistant get used as if they mean the same thing online, and they don’t. Genuinely waterproof flooring has a core that simply won’t absorb water or get damaged by it. Usually stone-plastic composite (SPC) or wood-plastic composite (WPC) for LVT, or a solid PVC layer for sheet vinyl.
Water-resistant flooring is a different story. It can shrug off the odd spill if you wipe it up quickly, but it’s not built to sit under standing water, and it definitely won’t cope with regular flooding. So around a bath, shower tray or basin, don’t just assume any vinyl will do the job. Check the spec sheet and look for the word waterproof specifically.
Which Type of Vinyl Should You Use in a Bathroom?
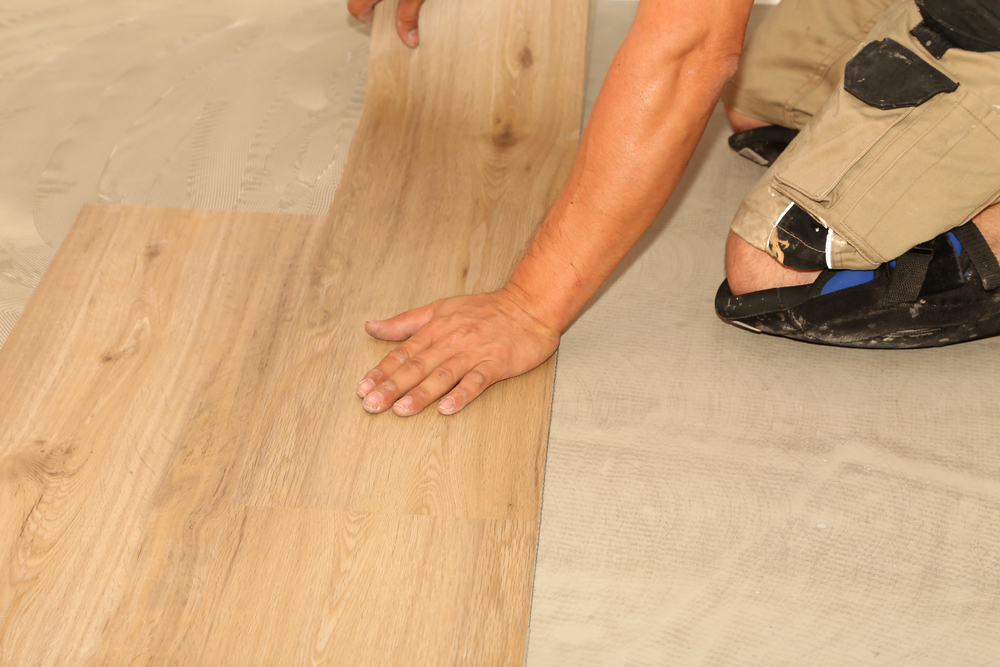
Vinyl flooring covers a few genuinely different products, and which one suits your bathroom depends on the size of the room, your budget, and how much disruption you’re prepared to deal with.
Sheet Vinyl (Cushion Vinyl)
Sheet vinyl comes in wide rolls, typically 2m or 4m, which means a small or average bathroom can often be covered in a single piece with no seams at all. That’s a real advantage in a wet room, since a seamless floor gives water nowhere to get underneath. Cushion vinyl, a slightly padded version, adds a bit of comfort and warmth underfoot too. The catch is that it takes a bit more skill to measure and cut accurately, and a poor cut around an awkward-shaped room shows.
Click LVT (Rigid Core)
Click LVT is fitted as individual planks or tiles that lock together and float over the subfloor, similar to laminate. It’s the most DIY-friendly option since there’s no adhesive to manage, and the rigid SPC or WPC core is dimensionally stable, so it copes well with the odd temperature swing from a hot bath or shower. Because it’s made up of separate pieces rather than one continuous sheet, the seams need proper attention when it comes to sealing, which we’ll come back to. If you want the full picture on how LVT is built and where it performs best, our ultimate guide to luxury vinyl flooring goes into more detail on the construction and the different finishes available, including tile-effect designs like the ones in our guide to Victorian tile-effect vinyl flooring, which works particularly well in period bathrooms.
Glue-Down LVT
Glue-down LVT is stuck to the subfloor with glue rather than floating on top of it. It takes longer to fit, and it shows up any bumps in the subfloor more, but it’s the strongest option for a busy family bathroom. There’s no movement at the joints, so water’s got nowhere to work its way in over time.
Self-Adhesive Vinyl Tiles: A Word of Caution
Peel-and-stick vinyl tiles are cheap and genuinely easy to fit, but we’d think twice before using them anywhere near a bath, shower or basin. The seams between tiles rely entirely on the adhesive backing rather than a welded or sealed joint, and that backing is the first thing to fail once water gets underneath repeatedly. They’re a reasonable option for a cloakroom with just a toilet and basin, but for a room that sees regular splashing, sheet vinyl or LVT is the safer bet.
What You’ll Need
Top tip: lay everything out before you start so you’re not hunting for a tool halfway through a cut.
Here’s what you’ll typically need to lay vinyl flooring in a bathroom:
- Sheet vinyl or click/glue-down LVT (add 10% extra for cutting and wastage)
- Underlayment or 6–8mm plywood, if your subfloor needs it
- Flooring adhesive and a notched trowel (for glue-down products)
- A sharp vinyl or utility knife, plus spare blades
- A long straight edge or steel rule
- Template paper or card, for scribing around the toilet and pipework
- Spacers, for the expansion gap around click LVT
- A pull bar and tapping block (click LVT)
- A flooring roller, to bed sheet vinyl down and push out air
- Bathroom-grade silicone sealant and a sealant gun
- Tape measure, pencil and a set square
Preparing the Subfloor and the Room
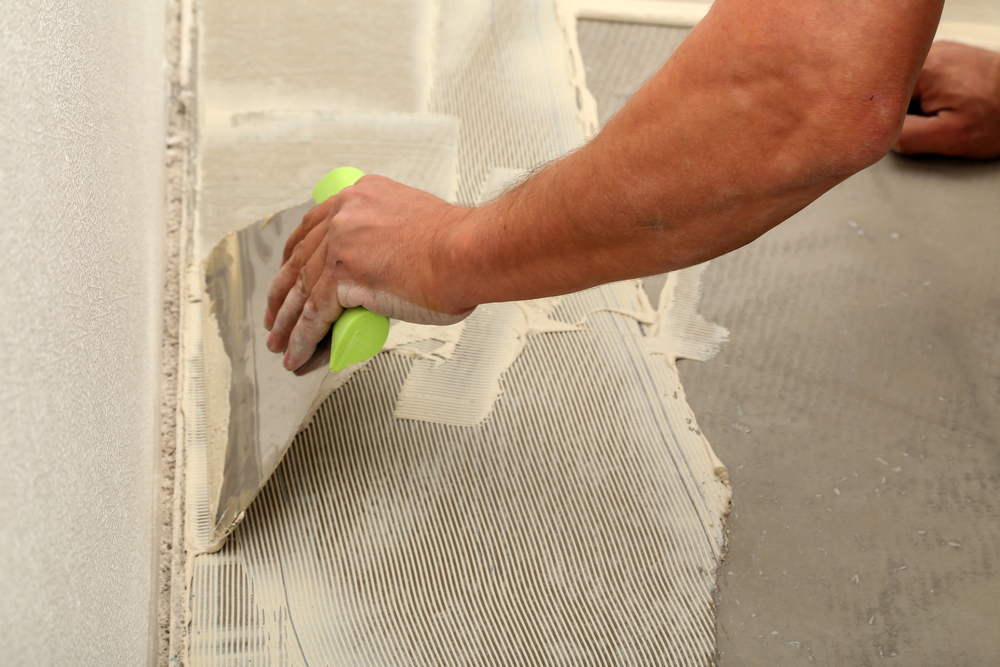
Whatever vinyl you choose, the finished floor will only be as good as what it’s laid on. The subfloor needs to be clean, dry and, above all, flat, since any dip or high spot will be visible through a thin product like vinyl far more obviously than it would under carpet.
Over concrete, check for damp before you start; a moisture meter reading or a simple plastic-sheet test will tell you if the slab needs longer to dry out. Over timber floorboards, it’s usually worth screwing down a 6mm plywood overlay first, since boards flex slightly underfoot and that movement can eventually show through as cracking at the seams. If you’re working over an existing tiled or vinyl floor rather than back to bare boards or screed, it’s worth reading our guide on laying LVT over different subfloors before you commit, since not every existing surface is suitable to build straight on top of.
When it comes to underlay, most rigid-core click LVT already has an acoustic or comfort backing built in, and adding a separate underlay isn’t usually necessary, or even advisable, in a wet room, since a standard underlay can hold moisture against the subfloor rather than letting it evaporate. If your chosen product does call for underlay, make sure it’s specifically rated for wet areas rather than a general-purpose type meant for a living room or bedroom.
Worth knowing: if you’ve got or are planning underfloor heating in the bathroom, both sheet vinyl and LVT generally perform well over it, provided you bring the temperature up gradually once it’s fitted rather than switching straight to full heat. Our guide to the best flooring for underfloor heating covers this in more depth if it’s something you’re considering alongside the new floor.
How to Lay Sheet Vinyl in a Bathroom
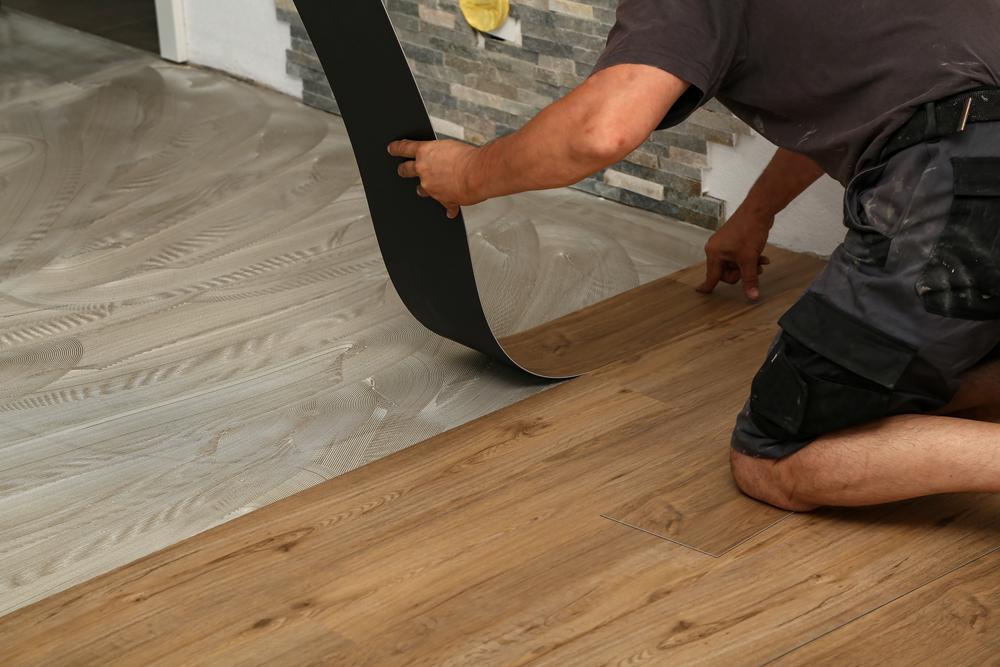
- Make a measurement of the room using paper or card taped together, tracing carefully around the toilet base, pedestal and any pipework so the shape transfers accurately.
- Lay the measurement over your vinyl roll and mark round it, adding a few centimetres of extra allowance at the edges for trimming.
- Cut the vinyl slightly oversized, then carry it into the room and let it relax for a couple of hours, sheet vinyl can stretch slightly and settle better once it’s had time to acclimatise.
- Dry-fit the sheet, easing it into corners and against the skirting, and trim gradually rather than taking one large cut, it’s much easier to remove a little more than to fix an overcut.
- For a small bathroom with light traffic, double-sided flooring tape around the perimeter and any seams is often enough. For a larger room, or anywhere that sees a lot of water, bond the whole sheet down with flooring adhesive and a notched trowel for a genuinely watertight result.
- Roll the floor with a flooring roller, working from the centre outwards, to push out any trapped air and bed it firmly to the subfloor.
- Trim the final edges neatly against the skirting, then move on to sealing (below) before you fit the toilet back or reconnect any fittings.
Mistakes Worth Avoiding
- Skipping subfloor prep: a floor laid over an uneven or damp subfloor will show every flaw within months, however good the vinyl is.
- No expansion gap on click LVT: without one, the floor has nowhere to move and can peak or lift at the seams.
- Forgetting to seal the toilet base and bath edge: the single most common reason a waterproof bathroom floor ends up with damp underneath.
- Using the wrong underlay: a general-purpose underlay in a wet room can trap moisture rather than letting it evaporate.
- Cutting too tight around fittings: leave a small allowance you can cover with a pipe collar or sealant, rather than fighting for a perfect zero-gap cut.
- Not letting sheet vinyl acclimatise: fitting it straight from a cold van or garage can leave it slightly misshapen once it warms up in the room.
Final Thoughts
Laying vinyl flooring in a bathroom isn’t a complicated job, but it does reward patience, particularly around the subfloor prep and the final sealing. Get those two things right, along with a careful cut around the toilet and pipework, and either sheet vinyl or click LVT, will give you a genuinely waterproof floor that looks good for well over a decade.